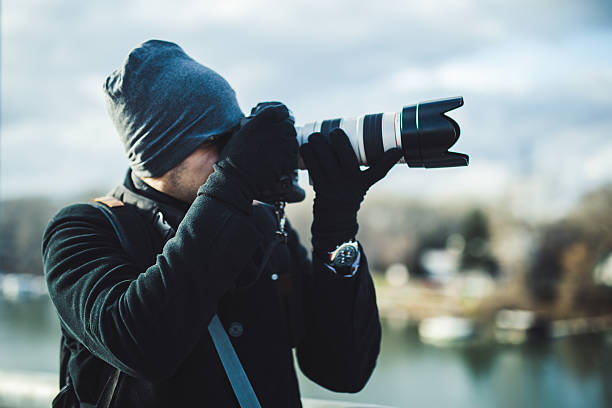
Photography and cinema share some of the same features. It includes lighting, emotion, and story. They are the two branches of the same tree and are both dependent on the human will to stop time. Through visual language, they both represent the meaning behind every captured moment. The movie world has greatly widened the experience and appreciation of visual art like 123movies mirrors.
For this kind of movie website, they create an enormous catalogue of worldly artworks to poppers with an internet connection. The result of this digital democratization is the ability of creators to access a universal database of visual storytelling. They will no longer have to remain limited to local inspirations.
From Still to Motion
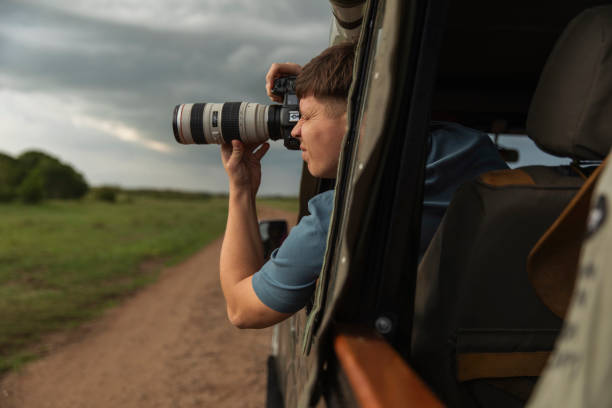
The photograph is a record of a single instant and the whole story put on a single piece of paper. Film, on the other hand, captures a successive series of moments, or twenty-four frames a second, which is a fluid narrative. To the photographers, it is a masterclass on composition, lighting, and emotion to watch movies. Though a photographer has to capture everything in a single shot, a cinematographer has to possess thousands of consecutive photographs in sequence.

It is through the stillness in motion that photographers can learn to anticipate. When we are watching a movie we can see how a character is stepped to the light or how the backdrop is altered to modify the mood. This trains the still-photographer to wait out until the so-called decisive moment when all the elements of a story come together in the view-finder. It is not the movement as such but the rhythm of visual information that is involved in the transition between still and motion.
Inspiration for Creators
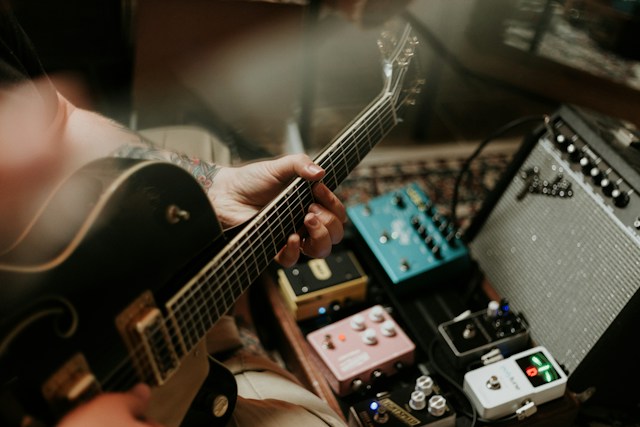
Cinemas have the power to awaken new creative visions that would not have been emanated otherwise. In how scenes are framed with the use of the rule of thirds or leading lines, to the dramatic use of shadows in film noirs, everything in the cinema can be learned and applied to photography. Look at the color correction of a recent blockbuster. The teal and orange curves applied in order to produce contrast could be directly applied to the post-processing of a portrait shot.
Moreover, the filming world gives a glimpse of the various cultural views.
Connection and Visual Emotion
Both forms of art are intended to express emotions. It may be the tender, high-end comfort of family portraits or the roughness and rough grit of a dirty documentary. Music and dialogue help us create this linkage in the cinematic world. Yet, the best movies are the ones which may recount their tale even when the music is turned off.
It is at this point that photography and cinema actually meet. A photographer is an artist who tries to make a kind of silent movie in one picture. This is for the spectator to experience the tension, the gladness, or sadness without uttering even a single word.
The knowledge of the arc of a movie narrative enables photographers to arrange their pieces in a portfolio or book to build a unified emotional narrative to the viewer.
Documenting With a New Lens
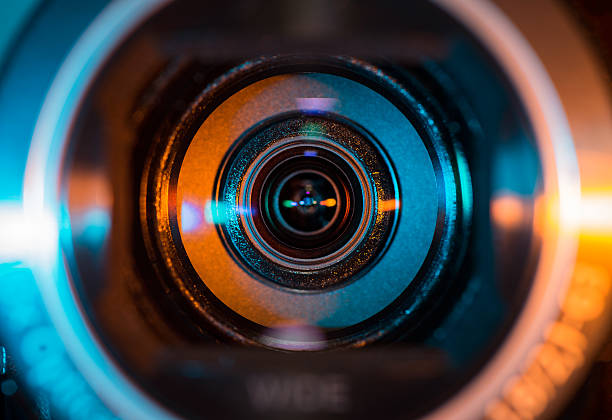
Filaments and photo records have replaced each other and live on the internet, offering a medium through which artists display their work in various forms. The digital era has eliminated boundaries between the photographer and the videographer. The ability to be the best at both is the aim of most modern cameras, which promotes a hybrid method of documentation.
This new lens with the help of which we look at the world is a product of the unlimited availability of high-quality visual material. Training our eyes to read high production value and powerful stories as we traverse through mirrors and streaming platforms is subconscious. To the contemporary artist, this translates to a greater entry point. However, it is more expressive than at any previous time. It is no longer about recording what we observe but about instructing the viewer on his experience.
Creative Reads for Artists
In order to bring even more to the void between these two mediums, it is of essence to explore the theory behind the practice. Read thought-provoking articles like lighting techniques for emotional impact and get to learn how direction of light and quality of light can alter the psychology of a given shot. Also, reading about storytelling beyond the frame can make you understand that the things you do not capture in one of your photos are just as important in most cases as the ones you actually capture. You make your work, your visual exploration and document not just an act of documentation but a formidable story by linking it to cinematic inspiration.


 This trend remains popular on Instagram since it presents the entire spread.
 Resting your sleeping baby’s head on your palms while they sleep will give them a more serene appearance, creating the Chin-on-Hands Pose. Their delicate features and calm demeanor are emphasized by this position.
 Display Your Finest Achievements